Last update: 1 week ago

Kitchen tiles take a beating. Grease from the hob, sauce splashed up the wall, grime pressed into grout lines by foot traffic — it accumulates faster than most people realise, and by the time it’s obvious, it’s already harder to shift. Knowing how to clean kitchen tiles properly, rather than just wiping the surface and hoping for the best, makes a real difference to how long the results last.
Tiles are durable and relatively forgiving, but the method matters. The wrong cleaner on the wrong surface can dull a gloss finish, erode grout, or permanently mark natural stone. This guide covers wall tiles, floor tiles, splashbacks, grout, and how to keep on top of all of it without turning it into a major project.
TL;DR
- Mix baking soda with a small amount of water to form a paste, apply to ceramic or porcelain wall tiles, then spray with white vinegar to break down grease.
- Never use vinegar or acidic cleaners on marble, granite, or natural stone tiles — use a pH-neutral specialist cleaner instead.
- Clean grout before tackling the tile surface itself; an old toothbrush with baking soda paste works well for most grout lines.
- For glossy tiles, skip abrasive pads — a soft microfibre cloth prevents scratching and keeps the surface streak-free.
- Wipe splashback tiles down after cooking to prevent grease build-up; use a chamois mop on kitchen floor tiles to avoid pushing dirt into grout lines.
How to clean kitchen wall tiles

Wall tiles near the hob and sink accumulate cooking fumes, grease film, and watermarks — often all at once. The right method depends on your tile type, so check what you’re working with before you reach for a cleaner.
Method 1. Baking soda paste and vinegar
Baking soda and white vinegar are a genuinely effective combination for kitchen wall tiles. The baking soda does the mechanical work; the vinegar cuts through grease with a mild acid reaction. Both are natural, inexpensive, and already in most kitchen cupboards.
- Make a baking soda paste
Mix baking soda with a small amount of water to form a thick paste. It should hold its shape on a sponge without running down the tile.
- Apply the paste and scrub
Apply the paste to a damp sponge or soft cloth and work it over the tile surface, scrubbing gently where needed. Baking soda is mildly abrasive, so keep the pressure light to avoid scratching the glaze.
- Spray with white vinegar
Pour white vinegar into an empty spray bottle and apply it directly over the baking soda paste on the tiles. The mixture will fizz — that reaction helps lift grease and grime from the surface.
- Leave it to work
Let the vinegar and baking soda sit on the tiles for about 10 minutes.
- Wipe clean
Wipe the surface clean with warm water and a cloth, rinsing thoroughly so no residue remains.
Method 2. Tile cleaner
There are many tile cleaning products available on the market. They are easy to find and effective, however, they contain chemicals, so make sure your room is well-ventilated when working with them. Always follow the manufacturer’s instructions. If it’s possible, choose a tile cleaner that is not very harsh and comes in a spray bottle for easier application.
- Spray the wall tiles but be careful to not overdo it.
- Let the solution sit on the wall tiles for about 10-15 minutes or as instructed by the manufacturer. When dealing with tile watermarks on the area near the sink, there is no need to wait. You can simply spray the tiles and then wipe them clean.
- Use warm water and a clean cloth to wipe away the cleaning solution from the kitchen tiles.
Method 3. Cleaning greasy kitchen wall tiles and splashbacks
Splashback tiles sit directly behind the hob and take the heaviest grease impact in the kitchen. A standard wipe-down won’t cut through cooked-on grease film — you need a degreaser or a dish soap solution with some heat behind it. The tile finish also matters here: glossy tiles show streaks easily and need a lint-free cloth to finish; matte or textured tiles trap grease in the surface texture and may need a soft-bristle brush to lift it properly.
- Mix a few drops of dish soap with hot water, or use a dedicated kitchen degreaser for heavy build-up. Fill a spray bottle or a bowl depending on what you have available.
- Apply the solution to the splashback tiles and leave it for 3–5 minutes to soften the grease.
- For glossy tiles, wipe with a soft microfibre cloth using circular motions. For matte or textured surfaces, use a soft-bristle brush to work the solution into the surface texture without scratching it.
- Rinse thoroughly with clean water. Degreaser residue left on tiles will attract dust and make surfaces look dull faster than they should.
- For glossy tiles, buff dry with a lint-free cloth immediately after rinsing to prevent streaks.
How to clean kitchen floor tiles

Cleaning kitchen floor tiles follows the same basic logic as wall tiles, with a few practical differences. Floor tiles collect grit and food debris that wall tiles don’t, and if you mop without sweeping first, you’re dragging abrasive particles across the surface. The method below covers most ceramic and porcelain floor tiles. Natural stone floors need a slightly different approach, noted below.
- Vacuum or sweep the floor before doing anything else. Grit left on tile surfaces gets pushed around by a mop and can scratch the glaze over time. A quick sweep takes two minutes and protects the finish.
- Clean the grout lines using one of the methods in the grout section below. It’s easier to do this before mopping, so the dirty rinse water doesn’t resettle into grout you’ve already cleaned. You can use white vinegar, apple cider vinegar, baking soda paste, or diluted bleach depending on how heavy the staining is.
- Mop the floor with a suitable cleaning solution. For most ceramic and porcelain floor tiles, a mix of dish soap and hot water works well for everyday cleaning. Vinegar and baking soda or a commercial floor cleaner are both effective options for a deeper clean.
- Rinse off with clean water and dry with a soft cloth to avoid water marks.
How to clean grout

Grout is the part most people underestimate. It’s porous, which means it absorbs grease, moisture, and food particles rather than just sitting on top of them. Cleaning the grout between tiles before tackling the tile surface itself gives you a cleaner result overall — dirty rinse water from the grout won’t then settle back onto tiles you’ve already cleaned. The same methods apply to both wall tile grout and floor tile grout.
Method 1. Baking soda and vinegar paste
- Mix white vinegar and baking soda together to form a paste.
- Apply the paste to the grout lines using an old toothbrush.
- Scrub along the grout lines, working your way across all of the tile gaps.
- Leave the paste to sit for about 20–30 minutes.
- Remove the paste with warm water and a clean cloth, rinsing thoroughly.
Method 2. Bleach for heavily stained grout
If the grout is in poor condition and the paste method hasn’t shifted the staining, oxygen bleach is a more effective option. It’s less harmful to the environment than chlorine bleach and gentler on grout over time.
- Put on protective gloves and a mask before handling bleach. Open windows to ensure good ventilation.
- Apply a small amount of bleach directly to the grout lines.
- Scrub the grout with a toothbrush.
- Leave it for 10–15 minutes.
- Rinse off thoroughly with clean water to remove any excess product. Don’t assume it’s clear just because it looks dry — rinse again.
Maintaining the kitchen clean
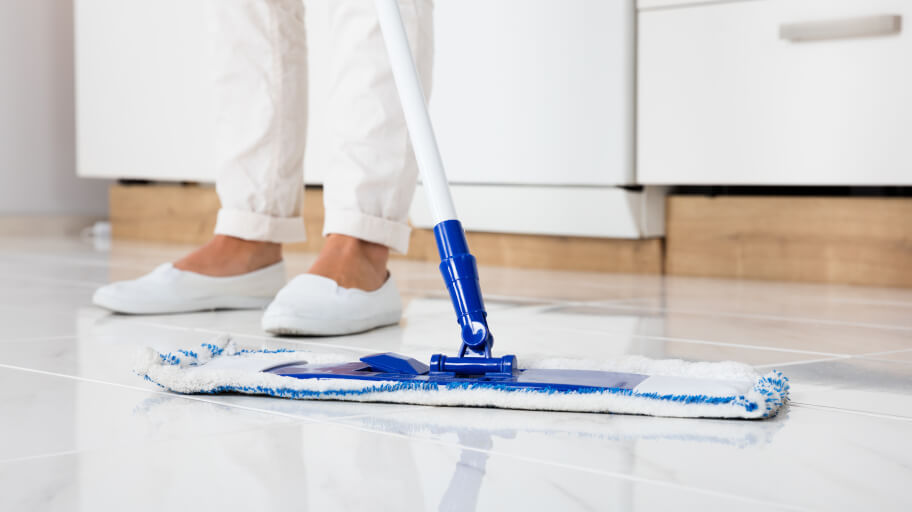
The gap between a kitchen that takes 20 minutes to clean and one that takes two hours is almost entirely down to how often small things get done between deep cleans. These three habits are worth building:
- Vacuum or sweep regularly. Tile grout is porous, which means tiny food particles get packed into it with every pass of foot traffic. A quick sweep keeps them on the surface where they’re easy to remove.
- Clean spills immediately. Liquid and food left to dry on tiles stains faster than most people expect, especially on grout. Wipe it up as it happens and there’s nothing to scrub later.
- Wipe down tiles with a damp cloth after cooking. This applies particularly to splashback tiles behind the hob. A quick wipe with warm, soapy water after cooking takes under a minute and stops grease film from building into a job that takes significantly longer.
Frequently asked questions
Wall tiles near the hob are worth wiping down weekly, or after any heavy cooking session that generates a lot of splatter. Floor tiles benefit from a weekly mop and a deeper grout clean roughly once a month, depending on how heavily the kitchen gets used.
Yes, on ceramic and porcelain tiles. Avoid bleach on natural stone tiles and on coloured grout, where it can cause permanent discolouration. Always dilute according to the product instructions, ventilate the room well, and rinse the surface thoroughly afterwards.
Use a microfibre cloth and rinse the surface with clean water after any cleaning solution. Buff dry with a lint-free cloth immediately after rinsing. This is especially important on glossy tiles, where any moisture left to dry on the surface will leave a visible mark.
For light to moderate grime, a baking soda and water paste scrubbed with an old toothbrush is effective and won’t damage the grout. For heavy staining or discolouration that the paste hasn’t shifted, diluted oxygen bleach is a stronger option that’s less harsh on grout and the environment than chlorine bleach.
Do you need a helping hand?
Hire a professional cleaning team!
Conclusion
The tile type determines the method — that’s the principle worth holding onto. Ceramic and porcelain are forgiving; natural stone is not. Acidic cleaners, abrasive pads, and harsh chemicals can do lasting damage to stone surfaces that no amount of re-cleaning will reverse. Get the tile type right first, then choose the cleaner.
Grout is usually the hardest part, and it responds best to patience rather than force: paste left to dwell does more work than aggressive scrubbing. For tiles or grout with deep staining that home methods haven’t shifted, a professional tile and grout clean is worth considering. Book an expert cleaner through Fantastic Services and get the kind of result that regular maintenance can then keep up with. You can also find tile cleaning services available in Sydney, handled by the same competent cleaners.