Last update: 1 month ago
Did you know that your rangehood filter is one of the most neglected areas in your kitchen? It’s true! Over time, these filters can become clogged with grease and grime, making them less effective at removing smoke and odours from your cooking area. But fear not! With just a few simple steps, you can have sparkling clean rangehood filters in no time.
Charcoal vs mesh rangehood filter
Before getting started with cleaning rangehood filters, it’s first very important to identify the type of filter or the rangehood filter material you have as this will determine if you can clean them or not. There are generally two types of filters: charcoal and mesh rangehood filters.
| Charcoal Filter | Mesh Filter | |
|---|---|---|
| Used in | Ductless rangehoods | Ducted rangehoods |
| Material | Activated carbon | Stainless steel or aluminium |
| How it works | Filters and recirculates air back into the kitchen | Traps grease, smoke and particles, vents air outside |
| Can be cleaned? | No | Yes |
| Maintenance | Replace every 3–6 months | Clean every 1–3 months |
If your rangehood vents air back into the kitchen rather than outside through a duct, you have a charcoal filter. If it connects to external ductwork, you have a mesh filter. The cleaning steps below apply to stainless steel and aluminium mesh filters only.
How to clean a range hood filter
Cleaning a rangehood filter may not be on your priority list, but it’s one way of ensuring improved safety, air quality, and overall, a more pleasant cooking experience in your kitchen. This is why rangehood cleaning is recommended every few months. So, if you’re wondering how to clean range hood filters, here’s what you need and the simple steps to follow.
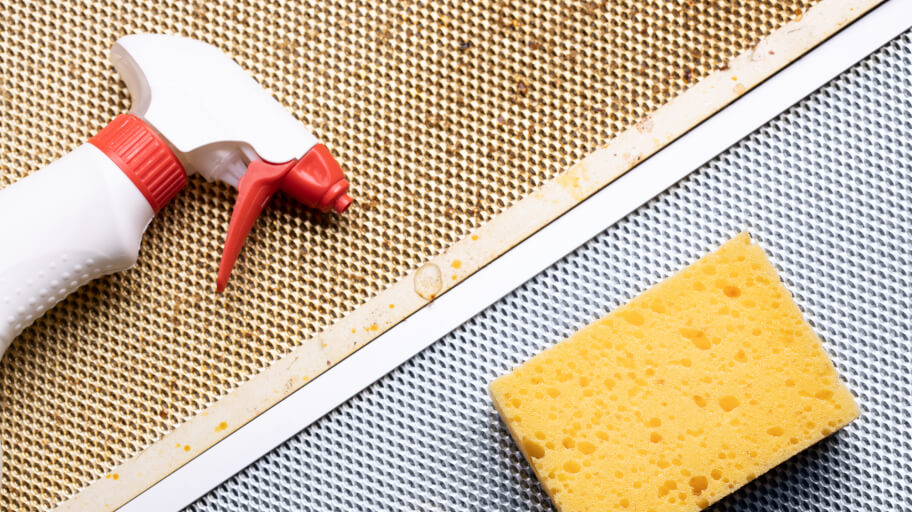
Here’s what you’ll need
Here’s what you’ll need:
- Boiling water
- Large pot or plugged sink
- 2–3 tablespoons dish soap or castile soap
- ¼ cup baking soda
- Non-abrasive brush
- Dry cloth
- Gloves (if using ammonia)
Step 1: Remove the range hood filter
Slide, pop, or unscrew the filter from your rangehood — the method depends on your model, so check the manual if it isn’t obvious. Handle it carefully, as it will likely be coated in grease. It’s important to consult the rangehood manual to determine the best way to remove it for optimal rangehood filter cleaning.
Step 2: Prepare the soaking solution and submerge the filter
Boil water using a kettle or stovetop pot. Pour it into a large pot or plugged sink, then add a generous amount of liquid dish soap and ¼ cup of baking soda. You can also use water and vinegar solutions, as well as a water and ammonia solution. With ammonia, you mustn’t physically touch this detergent, even when mixed with water as described in the steps that follow. Using gloves is one way of preventing harm to your skin. You can read more about cleaning products you shouldn’t mix.
Step 3: Soak for 20–60 minutes
Leave the filter submerged in the hot solution for at least 20 minutes, up to an hour for heavier grease build-up. This gives the heat and detergents time to break down and loosen the grease before scrubbing.
Step 4: Scrub the filter
Once the water has cooled to lukewarm, scrub the filter thoroughly with a non-abrasive brush until grease, oil, and food particles come free. For a deeper clean, place the filter in the dishwasher on the pots and pans setting — the high heat and water pressure removes finer grease particles the brush may have missed.
Step 5: Dry completely and reinstall
Air dry the filter fully before putting it back, or use a dry cloth to speed up the process. The filter must be completely dry before reinstalling to avoid electrical hazards. Once dry, follow your rangehood manufacturer’s instructions to click or slide it back into place.
Frequently asked questions
Can you clean rangehood filters in the dishwasher?
Yes, but only stainless steel and aluminium mesh filters. Place them on the pots and pans setting, which uses high heat and water pressure to remove fine grease particles that the brush may have missed. Do not put charcoal filters in the dishwasher — they cannot be cleaned at all and must be replaced.
How often should you clean a rangehood filter?
Clean mesh filters every 1–3 months, depending on cooking frequency — monthly if you cook daily, every 3 months for occasional cooking. Charcoal filters cannot be cleaned and should be replaced every 3–6 months.
How do I know when my rangehood filter needs cleaning?
Visible grease build-up, reduced suction, cooking smells lingering longer than usual, and discolouration of the mesh are the main indicators.
How do you remove tough or heavy rangehood grease?
Extend the soak to the full 60 minutes, use a commercial degreaser instead of dish soap, and scrub in circular motions rather than straight strokes. Repeat the soak and scrub cycle if the first pass doesn’t clear the build-up.
Have your rangehood professionally cleaned
This type of cleaning chore sure sounds exhausting. We won’t be surprised if it makes you rethink whether your rangehood is that dirty. But we assure you that sooner or later, you’ll have to get to this chore. And when you do, you can always rely on professionals to clean your rangehood inside and out. There’s a good chance that if the filters are due for a cleaning, the kitchen ducts and oven also need a good scrub. Consider booking a professional kitchen cleaning service in case you are too busy.
Book your professional rangehood cleaning today
Rely on the professionals to give you a healthy and clean kitchen once again!
Takeaways
One of the best ways to clean rangehood filters is to be thorough and take your time. Here’s what you need to know about cleaning rangehood filters in brief:
- Determine the type of material that your rangehood filter is made of;
- Charcoal filters cannot be cleaned and should be replaced every few months;
- Stainless steel or aluminium mesh filters can be cleaned manually;
- Soak the filter to loosen the build-up grease;
- Use a non-abrasive brush to scrub off grease and oil;
- After cleaning, you can also place your filter in a dishwasher for even better results;
- Make sure your filter is completely dry before putting it back in place;
- You can always hire cleaners to clean your rangehood filters and kitchen ducts professionally.