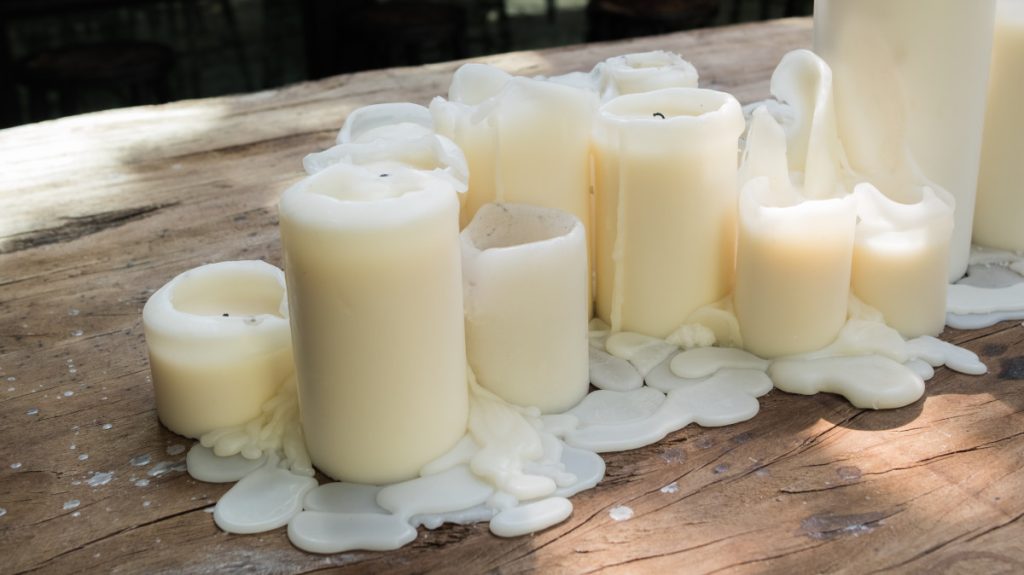
On a peaceful evening, while sharing stories with loved ones or simply soaking up a quiet moment, there’s something almost magical about how candlelight cosies up our homes. But here’s the surprising turn amid all this serenity – the accidental spill of candle wax on a cherished wooden surface. The scenario is all too familiar, a shared experience in households around Australia and beyond. Yet, fear not, for this accidental wax spill is not the end of your wooden treasure’s story. It’s just a twist in the tale, patiently awaiting its resolution.
So, if you’ve ever found yourself in this sticky situation, join us as we explore safe and effective methods how to get candle wax off wood without causing further damage.
Pre-cleaning steps
The golden rule in the delicate process of wax removal from wood is to avoid inflicting any further damage to the existing finish. Here is strategic wax removal preparation to make the cleaning process more seamless and effective, protecting your wood.
Step 1. Allow the wax to harden.
Resist the temptation to tackle the freshly spilt wax immediately. Instead, give it some time to cool and harden. Allowing the wax to harden makes it less malleable and reduces the risk of spreading during removal. This step sets the foundation for an easier clean-up process.
Step 2. Clear debris around the area.
Remove any loose debris or particles around the wax spill area. Debris can act as an abrasive agent, potentially causing scratches or staining during clean-up. Clearing the surroundings ensures a smoother, safer wax removal process.
Step 3. Protect surrounding surfaces.
Use a barrier, such as a folded towel or cardboard, to shield surrounding surfaces from accidental wax splatter. Preventing wax from reaching other surfaces simplifies the clean-up process and safeguards against unintended damage.
What NOT to do:
- Avoid using sharp or abrasive tools. Using items like knives or abrasive materials may inadvertently damage the wood surface.
- Don’t immediately wipe off molten wax. Trying to wipe off hot wax can spread it and embed it further into the wood grain.
- Refrain from using harsh chemicals. Some chemicals may harm the wood finish. Therefore, it’s best to stick to gentle, wood-friendly cleaning solutions.
By incorporating these pre-cleaning measures, you create an optimal environment for wax removal. Keep in mind the actions to avoid, and you’ll be well on your way to restoring your wooden surfaces without any complications.
Methods for removing candle wax from wood
It is imperative to commence the wax removal journey with the gentlest and most fundamental methods, progressively advancing to more sophisticated techniques when required. Patience and a systematic approach are the key elements in this endeavour!
The ice cube technique
Unleash the power of ice to tackle those pesky candle wax spills on your precious wooden surfaces. As melted candle wax can leave an unsightly mess, the ice cube method offers a gentle and effective solution – no harsh chemicals or abrasive tools are required.
The ice cube’s cold temperature effectively chills hardened candle wax, making it brittle and easy to scrape away without damaging the delicate wood grain. The ice cube technique is especially effective for fresh candle wax spills, as the wax hasn’t had time to harden and fully embed itself into the wood.
What you will need:
- Ice cubes
- Plastic food storage bag
- Plastic scraper
- Clean, soft cloth
- Olive oil
Here’s how to get wax off wood using the ice cube method:
Step 1. Freeze the wax.
Place a plastic food storage bag filled with ice cubes directly onto the wax spill. Allow the icy grip to work its magic for about 20-30 seconds or until the wax turns visibly hardened.
Step 2. Gently remove the hardened wax.
Opt for the edge of a plastic scraper (remember, never metal!) to carefully lift the hardened wax from the wood surface. Keep it gentle, avoiding any heavy-handed movements, and ensure the plastic’s edge stays flat against the wood surface – no gouging allowed.
Step 3. Clear away the loose wax.
Employ a gentle touch with either a soft cloth or your fingers to pick up the loose pieces of wax.
Step 4. Revive the wood’s natural shine.
To leave the wood with a smooth finish, apply a small amount of olive oil to a soft cloth and gently polish the area.
Hair dryer method
The hair dryer method works wonders, especially for dealing with those large wax spills. That handy approach allows you to distribute heat evenly, delicately softening candle wax without any worry of damaging the wood. It’s a gentle technique suitable for all kinds of wood, whether you’re dealing with delicate antiques or robust furniture. If the wax spill is recent or has been lingering for a while, heat application can effectively soften and eliminate it. That makes it a safe and effective option for even the most stubborn wax messes.
To protect the wood finish from overheating, follow these instructions:
- Keep the hairdryer at a safe distance from the wood. Aim for about 6-12 inches between the hairdryer and the wax spill.
- Avoid direct contact with the wood.
- Stop if the wood feels warm to the touch. If you notice the wood starting to warm up, step back and let it cool slightly before continuing.
Here’s how to get wax off a wooden table using the hair dryer technique:
Step 1. Protect the wood surface.
Take an old cloth or towel and cover the candle wax stain entirely on the surface. Ensure that the cloth is larger than the stain to shield the wood surface from any potential additional damage.
Step 2. Apply heat to the wax.
Hold the hairdryer about 6-12 inches away from the wax spill and direct the heat evenly across the area.
Step 3. Soften the wax.
As the wax heats up, it will gradually soften and become pliable. Once softened, you can easily eliminate it using a gentle cloth or a plastic scraper.
Step 4. Gently remove the wax.
Using a soft fabric cloth or a plastic scraper, gently lift the softened wax away from the wood, moving in the direction of the wood grain.
Step 5. Remove remaining residue.
To tackle persistent waxy remnants, dampen a cloth with a mild soap solution or a specialised solvent. With gentle strokes, erase any trace of wax, leaving your wooden surface spotless.
Step 6. Buff the wood.
To restore the wood’s shine, use a clean, soft cloth to buff the area. You can also apply a light coat of furniture polish or wood oil to revitalise the wood’s natural lustre.
Vinegar solution clean-up
With a mild acidic charm, white vinegar is a natural cleaning champion, uniquely adept at dissolving wax. What makes it even more fantastic is its gentle touch that suits a range of surfaces, including wood. So, it’s not just versatile but also an eco-friendly choice when you’re tackling wax removal.
While the hairdryer and ice cube methods are effective for removing candle wax from wooden surfaces, they may not eliminate all traces of wax residue. To guarantee a comprehensive cleaning and prevent any lingering waxy marks, consider using vinegar cleaning as a final step.
Let’s walk through the post-wax removal process using white vinegar, step by step:
- Grab a new spray bottle and combine an equal portion of white vinegar with water. Give the bottle a slight shake to make sure the solution is thoroughly mixed.
- Now, spray that vinegar mix directly onto the spot that needs attention. Let it sit for a few minutes so it can break down any stubborn wax residue.
- Take a microfiber cloth and delicately wipe off the softened wax. Ensure you go in the direction of the wood grain to prevent potential scratches.
- If there’s still some wax hanging on, go ahead and repeat the process with the vinegar solution – spray and wipe.
- Once you’ve successfully banished all traces of wax, grab a clean, damp microfiber cloth and wipe the area down to remove any leftover vinegar solution.
Understanding when professional help is needed
While the do-it-yourself methods outlined above work well for most candle wax spills, there are situations where booking a professional deep cleaning service is strongly advised.
Here are some scenarios where DIY might not be appropriate:
- Antique furniture. Antique pieces often come with delicate finishes that aggressive chemicals or abrasive approaches can easily harm. Trying to remove candle wax from these pieces on your own may lead to unsightly marks or, worse, permanent damage. It’s essential to treat them with care or consider seeking professional help to ensure their lasting integrity.
- Highly polished or varnished surfaces. Polished or veneered wood requires a more delicate touch to avoid scratches or blemishes. DIY methods that involve heat, such as the hairdryer method, could damage the delicate finish of these surfaces.
- Extensive wax spills. If you find yourself facing a significant spill of hardened candle wax, DIY methods might not cut it entirely. The wax could be too thick and resistant to melt or scrape away efficiently. In such situations, the expertise of a professional becomes crucial for a safe and effective resolution.
Keep in mind that understanding the boundaries of DIY efforts and recognising when to seek professional help guarantees the optimal outcome for your beloved wooden furniture. It’s a delicate balance, preserving the sentimental value while maintaining the aesthetic charm of your cherished pieces.
Takeaways
- Avoid using sharp tools and harsh chemicals when getting candle wax off the wood;
- Don’t wipe the molten wax immediately. Wait till the wax is fully hardened;
- Use microfiber cloths for effective wax residue removal;
- Recognise the limits of DIY efforts for optimal outcomes;
- Seek professional help when you face a significant spill of hardened candle wax on your antique pieces.
Do you need a little help cleaning?
It’s no trouble at all. We’re here to assist you!
If you’ve discovered these methods to be useful, we’d be thrilled to hear from you. Feel free to share your experiences or tips in the comments section below